The vCenter simulator (vcsim) contains a vSphere Web Services (SOAP) SDK endpoint. This is intended for testing consumers of the Web Service API. It can be used by any language that can talk to the vSphere Web Service API. This post describes how to install and test it on the one hand with VMware PowerCLI and on the other hand with VMware pyVmomi.
Installation and Testing VMware vCenter and ESXi API Simulator with PowerCLI and pyVmomi
PowerCLI is a command-line and scripting tool built on PowerShell, to manage and automate VMware infrastructure. pyVmomi is the Python SDK for the VMware vSphere Web Service API that allows you to manage ESX, ESXi, and vCenter. On this way an independent local test environment can be implemented.
Hint: vCenter servers offers two main API services:
- vSphere Web Services API, SOAP based
- vSphere Automation API, REST based
REST is not a replacement for SOAP APIs, but a complement to them.
vCenter and ESXi API Simulator (vcsim)
Instructions for installing and testing of vcsim:- Download the current version of vCenter and ESXi Web Service API based simulator.
- Start the vCenter server simulator with the command:
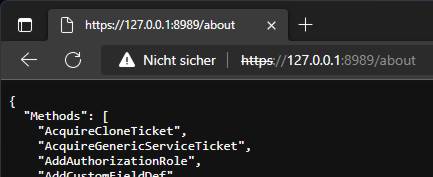
& .\vcsim -username root -password root -tls=false - Check its function in the browser with the URL:
https://root:root@127.0.0.1:8989/about
- To activate the trace start it with the command:
& .\vcsim.exe -username root -password root -tls=false -trace
With this setting detailed and interesting information about the request and the response is output.
The following vCenter hierarchy is represented by vcsim:
Default vCenter inventory of vcsim:
|
PowerCLI
Instructions for installing and testing of PowerCLI:-
Download of VMware PowerCLI from Broadcom
-
Detect the folders to extract PowerCLI with
$env:PSModulePath
-
Extract the downloaded .zip file to one of the listed folders.
Hint: Favorite isc:\Users\[YouName]\Documents\PowerShell\Modules
-
Verify if PowerCLI is available on your system with
Get-Module -ListAvailable -Name VCF.PowerCLI
-
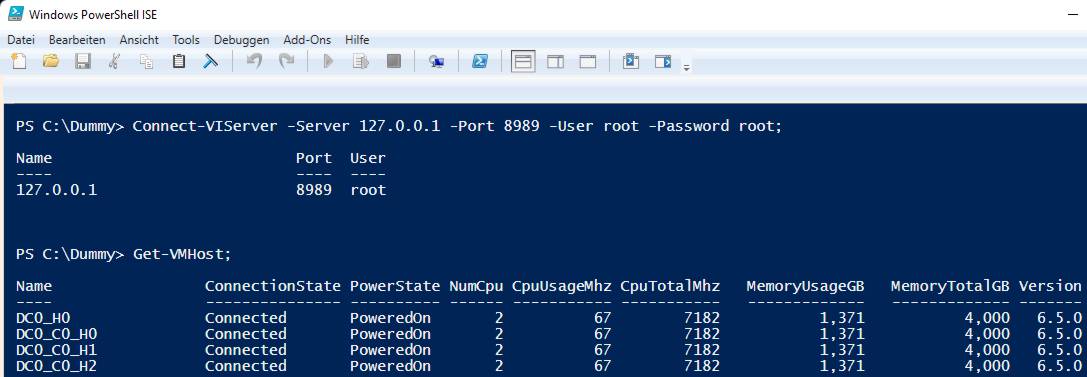
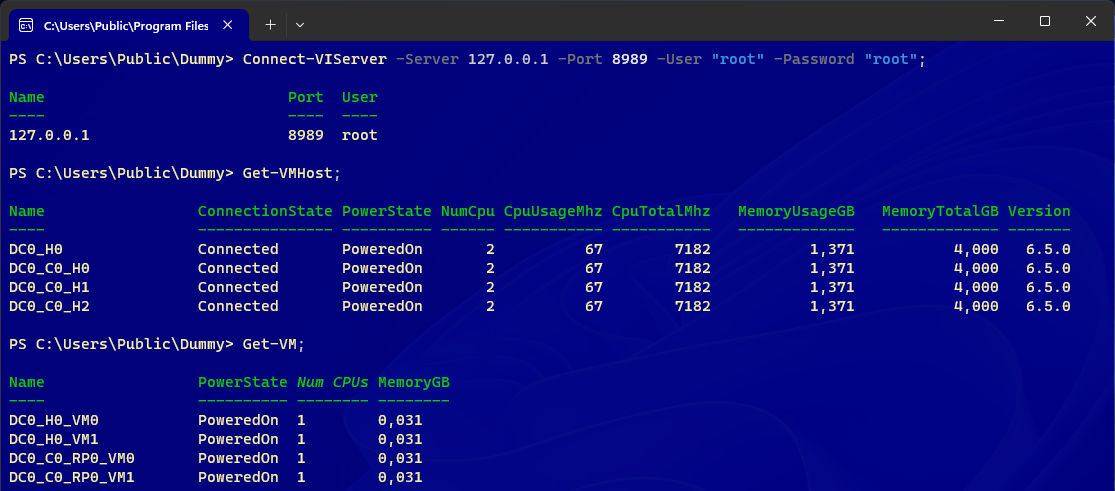
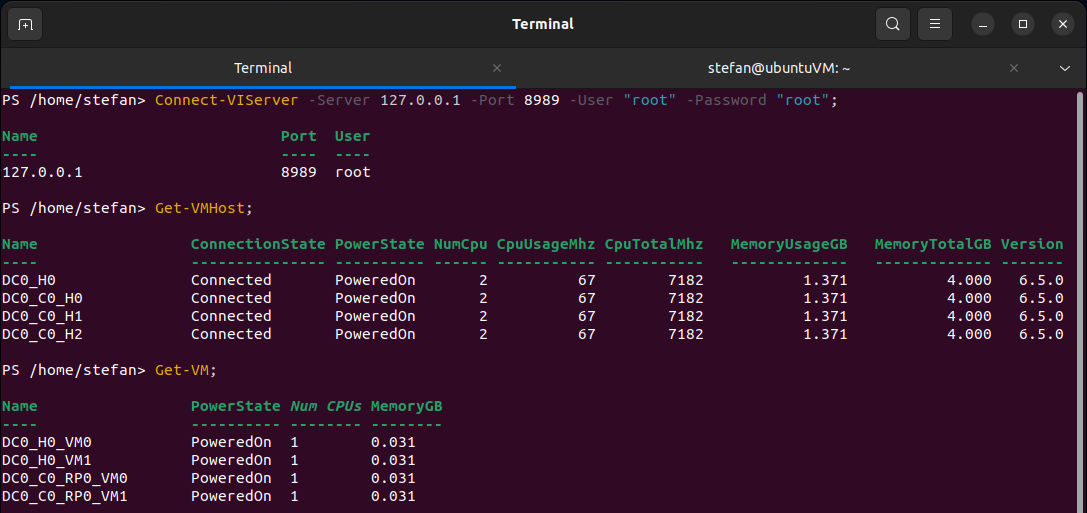
Connect the PowerCLI to vCenter server simulator with the command
Connect-VIServer -Server 127.0.0.1 -Port 8989 -Protocol http -User "root" -Password "root"
-
Check the function with the commands
Get-VMHostorGet-VM
 PowerCLI in PowerShell Core on Windows with vCenter simulator
 PowerCLI in PowerShell Core on Linux with vCenter simulator
- Get the current version of PowerCLI with
$PowerCLIVersion = Get-Module -ListAvailable -Name VCF.PowerCLIWrite-Host "$($PowerCLIVersion.Version.toString())"
- It is possible to get more information with
$global:DefaultVIServer | select *
If the attribute ProductLine delivers vpx, a connection to a vCenter was established. - It is possible to view all available commands with Get-VICommand;
A detailed help for each command is available with e.g.Get-Help Get-VM -Full
pyVmomi
Instructions for installing of pyVmomi (the first two steps of the preparation) and testing:-
The following code can be used for testing the connection.
from pyVim.connect import *

serviceInstance = Connect(
  host = "127.0.0.1",
  port = 8989,
  user = "root",
  pwd = "root",
  sslContext = None
)

serviceInstanceContent = serviceInstance.RetrieveContent()

aboutInfo = serviceInstanceContent.about
print("Name:", aboutInfo.name)
print("Fullname:", aboutInfo.fullName)
# Your code here

Disconnect(serviceInstance)
pyVmomi on Windows with vCenter simulator